Creality Ender-3 V3 SE Review: Good Budget Buy?
The Ender-3 V3 SE is a sensible low-cost first printer if you accept SD-card transfers, basic controls, and more manual oversight than newer rivals.
Research-based review
Recommendations are checked against product documentation, availability, comparative evidence, and clearly disclosed hands-on work where it exists.
Quick picks
The short answer, with the trade-off
Budget pick
Creality Ender-3 V3 SE
220 × 220 × 250mm build volume
Trade-off: SD-card transfer only
Easier alternative
Bambu Lab A1 mini
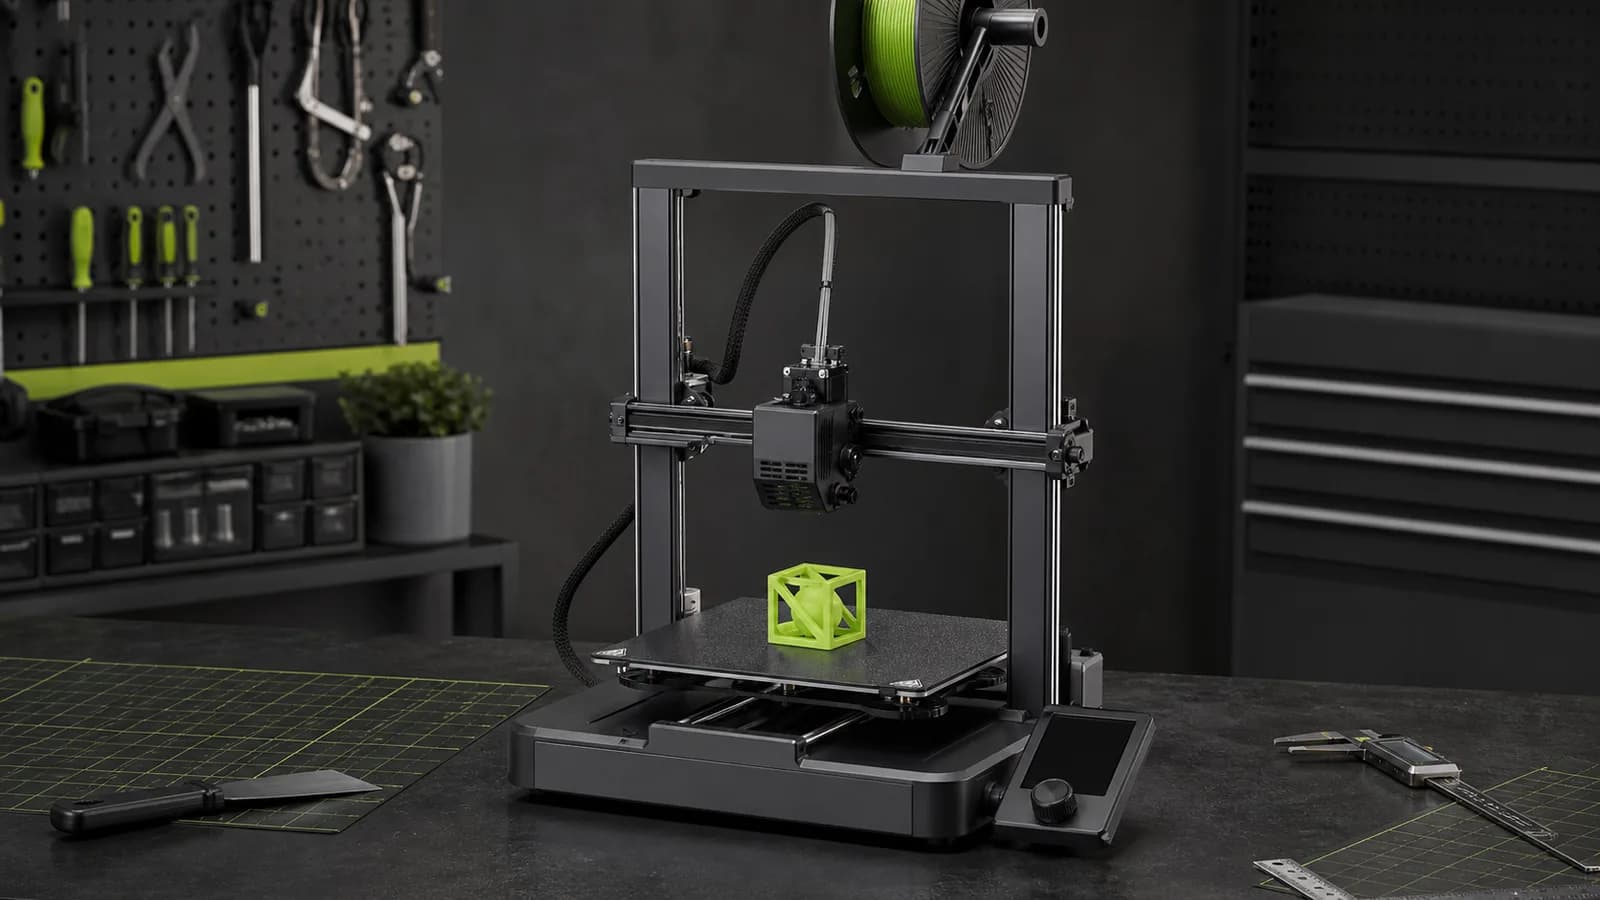
The Creality Ender-3 V3 SE is still worth considering when it is meaningfully cheaper than newer beginner printers. It gives you a useful 220 × 220 × 250mm build volume, automatic bed levelling, automatic Z-offset, and a direct-drive extruder without charging for Wi-Fi, a camera, or a touchscreen.
That stripped-back approach is also the compromise. Files move by SD card, the interface uses a knob, there is no filament runout sensor, and Creality's own manual still explains how to correct Z compensation when the first layer is wrong. This is a simpler Ender, not a printer that removes every setup decision.
This is a research-based review. We have not completed hands-on print-quality, noise, or long-term reliability testing of this model. The verdict is based on Creality's current specifications, manual, material guide, support documentation, product availability, and comparison with nearby beginner printers.
Short verdict
Buy the Ender-3 V3 SE if the low entry cost matters more than wireless convenience. Its direct-drive Sprite extruder, CR Touch levelling, dual Z-axis layout, and 250mm/s manufacturer maximum are a substantial step beyond old bargain-printer basics.
Skip it if you want to send a file from a phone or laptop and trust the printer to handle the rest. The SD-card workflow and limited sensors feel basic beside the Bambu A1 mini and Creality's own V3 KE. Spending more makes sense when it buys a process you will actually use more often.
Creality Ender-3 V3 SE
Why it works
- 220 × 220 × 250mm build volume
- Useful setup automation
- Direct-drive extruder
Main trade-off
- SD-card transfer only
- No filament runout sensor
- No SolderMag hands-on test data
Who this is for
The V3 SE makes sense for:
- a first-time buyer who wants to keep the initial spend low
- someone willing to carry sliced files on an SD card
- a learner who wants accessible parts and detailed service documentation
- a buyer who needs more build height than a compact 180mm printer provides
- PLA, PETG, and TPU projects that do not need an enclosed chamber
There is a good practical use case here: simple organizers, brackets, tabletop models, replacement clips, small enclosures, and other single-material parts. The larger bed is useful when a model is just too wide for the A1 mini.
Who should skip it
Skip the V3 SE if remote file transfer, a built-in camera, or filament-out detection is on your requirements list. It also is not the right stock machine for buyers planning to focus on ABS, ASA, nylon, or fibre-filled materials.
Creality lists PLA, PETG, and flexible TPU as the regular supported materials. The official material guide recommends a dry box for PETG and provides separate speed and temperature guidance for each supported filament. Treat the 260°C nozzle ceiling and open frame as boundaries, not an invitation to force every material through it.
If convenience is the priority, read our Bambu Lab A1 mini review. If the choice is already down to those two printers, the A1 mini vs Ender-3 V3 SE comparison gives the faster answer.
Key specifications
| Feature | Ender-3 V3 SE | What it means for a buyer |
|---|---|---|
| Build volume | 220 × 220 × 250mm | More room than compact 180mm-class printers |
| Printer dimensions | 420 × 366 × 490mm | Allow extra space for bed travel and the top spool |
| Motion system | Cartesian bed-slinger | Familiar, serviceable design; the bed moves during printing |
| Extruder | Sprite direct drive | Better suited to flexible filament than a long Bowden path |
| Nozzle | 0.4mm, up to 260°C | Mainstream PLA, PETG, and TPU focus |
| Bed temperature | Up to 100°C | Heated bed for supported materials |
| Claimed maximum speed | 250mm/s | Manufacturer ceiling, not a SolderMag quality-tested speed |
| Typical speed | 180mm/s | Creality's comparison figure; model and material still matter |
| Claimed acceleration | 2,500mm/s² | Modest beside newer high-speed models |
| Levelling | CR Touch plus strain-sensor Z offset | Reduces manual setup, but first-layer inspection still matters |
| File transfer | SD card | No built-in Wi-Fi workflow |
| Runout sensor | No | A finished spool can ruin a long unattended print |
The headline speed is not a guarantee that every model should run at 250mm/s. Layer height, filament flow, overhangs, cooling, and model geometry all change the useful speed.
Setup and first-layer control
Creality markets a 20-minute start and supplies a mostly assembled machine, but that figure is the manufacturer's target rather than our measured setup time. The manual still requires attaching the gantry, display, spool holder, and several labelled cables before loading filament and running levelling.
CR Touch maps the bed while a strain sensor estimates Z offset. That removes the old ritual of turning four bed screws with a sheet of paper. It does not remove the need to watch the first layer. Creality's manual says to adjust Z compensation if the first layer is over-compressed or fails to adhere.
That distinction matters. “Automatic” means fewer calibration steps, not permission to leave the room on the first print.
Print hardware and realistic expectations
The Sprite direct-drive extruder is the strongest part of the specification. Keeping the drive gears close to the nozzle shortens the filament path, which is useful with flexible TPU. Creality's material guide recommends 50mm/s for its HP-TPU profile, well below the machine's headline maximum. That is a useful reminder that material limits outrank the speed badge.
Dual Z lead screws support the X gantry on both sides. The Y axis uses steel linear shafts under the moving bed. Those are sensible choices for a budget machine, but they do not prove dimensional accuracy, surface finish, or durability by themselves.
We would not promise flawless first layers, silent movement, or a specific Benchy time without controlled testing. Buyer feedback can reveal recurring problems, but it cannot turn another person's setup into a lab result for your unit.
Controls and daily workflow
The 3.2-inch colour screen is controlled by a rotary knob. It shows levelling progress and basic parameters clearly enough, but this is not a touch interface. Files are sliced in Creality Print, Cura 5 or later, or Simplify3D, then placed in the root of the SD card.
That routine is workable at a desk. It gets annoying when the printer sits across a room or in a garage. A networked model reduces the small repeated steps between downloading a model and starting a print.
The V3 SE does include automatic filament loading and unloading from its control menu. It does not include a runout sensor, so check the remaining spool before a long job.
Material support
Start with PLA. It is the most forgiving route for learning first layers, supports, wall counts, and orientation. Creality's current material guide also provides profiles for PETG and 95A TPU.
PETG adds toughness but benefits from dry storage and more careful stringing control. TPU needs much slower printing than PLA. Neither material should be treated as a one-click change simply because the direct-drive extruder can feed it.
For ABS, ASA, nylon, or abrasive fibre-filled filament, choose a machine designed around those materials. An enclosure, ventilation plan, suitable hotend, and appropriate nozzle matter more than finding a setting that technically extrudes plastic.
Value
The V3 SE is a value purchase only when the price gap is real. Check it against the Ender-3 V3 KE and Bambu A1 mini on the day you buy.
If a more automated model is only slightly more expensive, pay for the better workflow. Wi-Fi, a runout sensor, a better interface, and stronger automatic calibration affect every print. If the V3 SE is meaningfully cheaper, its larger build volume and basic automation make a sensible case.
Do not spend the entire budget on the printer. Keep room for known-good PLA, spare nozzles, a simple deburring tool, and dry filament storage. A cheaper printer paired with poor filament is a bad way to judge the hobby.
Alternatives
Bambu Lab A1 mini: choose it for the more integrated software, wireless transfer, camera, and deeper automatic calibration. Skip it when the 180 × 180 × 180mm build volume is too small.
Creality Ender-3 V3 KE: choose it when you want Creality's larger-bed format with faster manufacturer specifications, network transfer, a runout sensor, and a Klipper-based interface. The upgrade is worthwhile when the price gap is modest.
Full-size Bambu Lab A1: consider it when you want the A1 workflow without the mini's smaller bed. Compare the full footprint as well as the build volume.
For a wider shortlist, see our best beginner 3D printers guide.
Frequently asked questions
Is the Ender-3 V3 SE good for a beginner?
Yes, if the beginner is comfortable moving files by SD card and checking first layers. Auto levelling and direct drive remove two common pain points, but the V3 SE is less hands-off than newer networked printers.
Does the Ender-3 V3 SE have Wi-Fi?
No. Creality lists SD card as its file-transfer method. Network features require a different model or an added controller.
Does it have automatic bed levelling?
Yes. It uses CR Touch for bed mapping and a strain sensor for automatic Z offset. The manual still provides Z-compensation adjustment for a poor first layer.
Can it print TPU?
Creality lists flexible TPU 95A as supported. Its material guide recommends a much lower speed for TPU than for PLA, so use a suitable profile rather than the printer's maximum-speed figure.
Is the Ender-3 V3 SE better than the Bambu A1 mini?
It has the larger build volume and can be the better budget choice. The A1 mini is the stronger convenience choice because it adds wireless transfer, a camera, and more integrated automation.
Final recommendation
Buy the Ender-3 V3 SE when it is meaningfully cheaper than the easier alternatives and you value bed size over wireless convenience. It keeps the parts of a budget printer that matter—direct drive, auto levelling, and a useful build volume—without pretending to be fully hands-off.
Skip it when the price gap to a networked model is small. Saving a little once is not worth adding friction to every print.
Sources
- Creality official Ender-3 V3 SE product page
- Creality official Ender-3 V3 series comparison
- Creality official Ender-3 V3 SE user manual
- Creality official Ender-3 V3 SE support hub
- Creality official Ender-3 V3 SE material guide
- Amazon US exact-product validation for
B0DD7F2BH9with the configured Associate tag.
As an Amazon Associate I earn from qualifying purchases.