How to Replace Mouse Skates Without Tracking Problems
Replace worn mouse feet without creating tracking problems. Check fit, thickness and sensor rings, then separate normal break-in from installation faults.
Research-based guide
Recommendations are checked against product documentation, availability, comparative evidence, and clearly disclosed hands-on work where it exists.
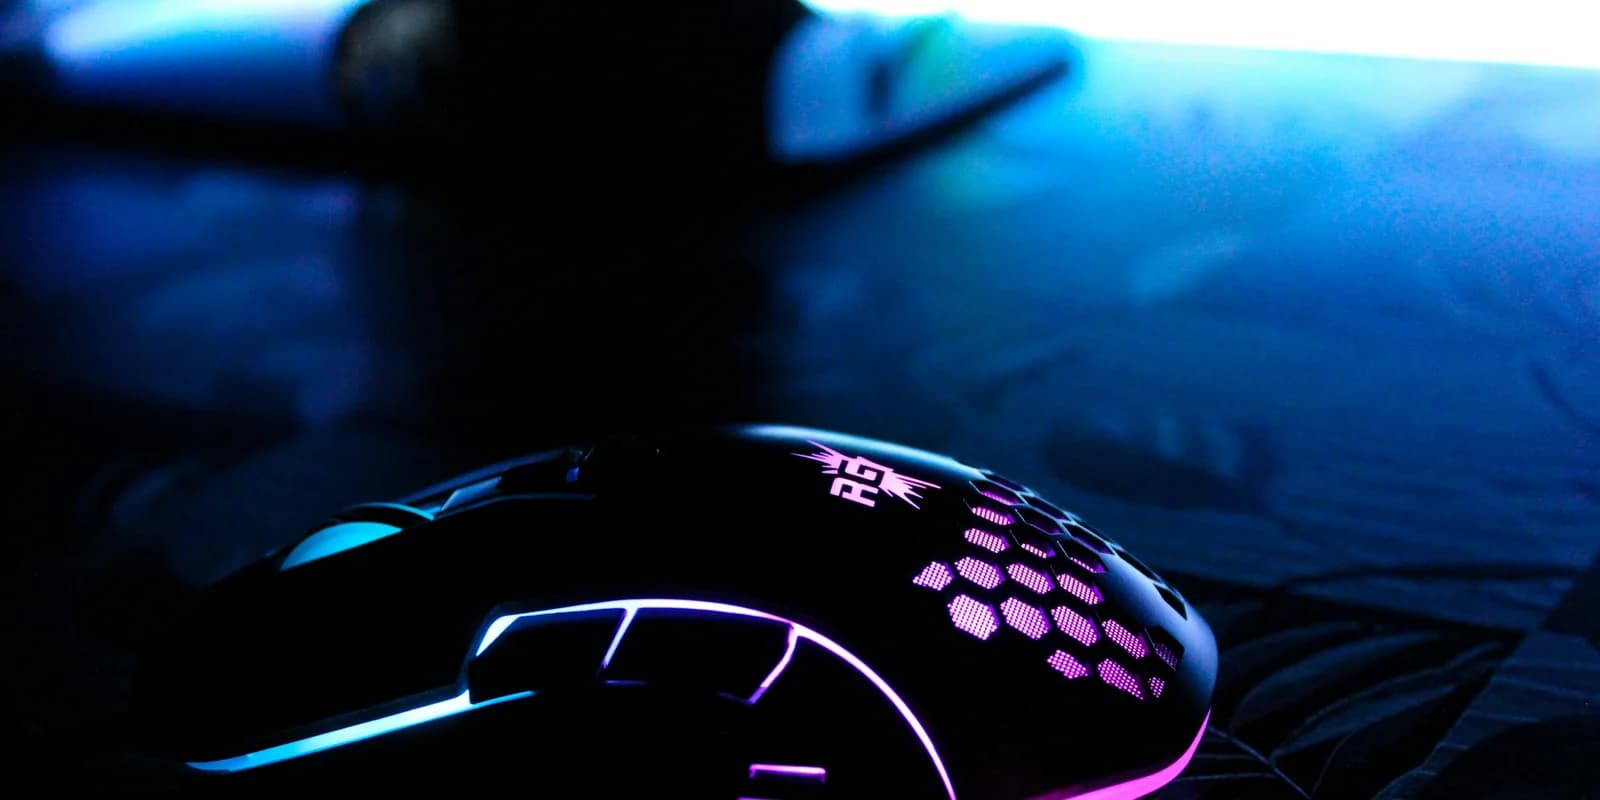
Replace mouse skates when a damaged foot is causing the problem, and use a set explicitly compatible with your exact mouse. Clean the pad and inspect the underside first. New feet are a sensible repair for a mouse you like; they are a poor way to troubleshoot every tracking fault.
The fiddly part is choosing the right set and checking the result. A mouse that rocks, catches in one direction or stops tracking after installation needs inspection, not a week of wishful thinking about break-in.
This is a research-based guide using manufacturer installation and support documentation, with practical troubleshooting advice. It covers replacement rather than hands-on comparisons of skate brands. For material choice, read our PTFE, glass and ceramic-style mouse skates guide.
Do you need new mouse feet?
Start with the cheapest useful check: inspect both the feet and the pad under good light. Note whether the problem follows the mouse across the surface or appears in one particular patch.
| What you notice | What to check first | Sensible next step |
|---|---|---|
| A foot is peeling or has a torn edge | Confirm which piece is damaged and identify the mouse | Find a compatible replacement set |
| Drag happens mainly in one area of the pad | Inspect that area for contamination or damage | Follow the pad maker's cleaning advice before buying feet |
| Cursor skips, but the mouse moves smoothly | Check the sensor opening, connection and surface settings | Troubleshoot tracking before assuming skate wear |
| Mouse catches only when moving left or right | Look for an uneven edge or debris on the underside | Inspect the physical cause; do not force it across the pad |
| Glide changed immediately after fitting new feet | Check packaging, placement and any leftover backing | Recheck installation before changing sensitivity |
| Glide is smooth, but your hand dislikes the shape | Reconsider grip fit and button reach | Feet are unlikely to solve the reason you dislike this mouse |
These checks narrow the search; they do not diagnose a particular model remotely. If the mouse is new and arrived damaged, contact the seller or manufacturer before buying parts to repair it yourself.
Who should replace them, and who should skip it?
Replacement makes sense when you want to keep the same shape, buttons and weight, and can identify a worn or damaged contact surface. It is also worth planning ahead if a repair procedure requires removing feet that cover screws.
Skip the swap when the stock feet work well. Changing a wear part because a listing promises better aim introduces another variable without addressing a problem you can name. Also pause if the exact fit is unclear: having a replacement ready is better than discovering the mistake after dismantling the old set.
Choose the correct set before removing anything
Treat the product name like a spare-part identifier. Check the underside label, original packaging or device software for the full name. Include the generation, size and connection variant when the manufacturer distinguishes them. A familiar family name alone is not proof of fit.
Then compare the listing's compatibility statement and underside diagram with your mouse. A photograph that looks approximately right is a reason to investigate, not a substitute for explicit compatibility. If the seller combines several variants in one listing, check the selected option again at checkout.
Before ordering, answer four questions:
- Does the listing name this exact model or explicitly cover its variant?
- Does the supplied layout match the recesses on the underside?
- What does the maker say about thickness and compatibility?
- Does the kit include a sensor-ring foot, or tell you to retain the existing one?
Do not infer that every piece on a sheet belongs on the mouse. Packaging may contain spare sets or optional pieces. Lay out one intended set and compare it with the fitting instructions before touching the adhesive.
Thickness is part of fit
ZOWIE's replacement guide explains that excessively thick feet can affect sensor lift-off distance, while feet that are too thin can leave the base scraping the pad. It also warns against stacking new skates over old ones or cutting oversized feet to fit.
That is why our default buying advice is to choose a compatible replacement, rather than the thickest option. Thickness figures across unrelated mouse models are not an upgrade ranking. If a listing offers different heights without explaining which your mouse needs, ask for clarification before ordering.
Keep the sensor ring decision model-specific
Some mice have a separate foot around the sensor opening. Others have a plastic surround that is part of the base. Do not pry at an unfamiliar ring just because another mouse's installation video removes one.
Follow the instructions for your mouse and replacement kit: replace a ring when specified, retain it when specified, and stop if the supplied pieces leave the intended arrangement unclear. ZOWIE's guide includes replacement of its center ring; that is not a universal instruction for every mouse.
Prepare the work area
Use a clear, well-lit desk where a small piece cannot disappear among loose screws or cables. Have the replacement set and its instructions open, take an underside photo for reference, and switch the mouse off or unplug it.
Gather only the cleaning materials and tools approved for this job by the relevant manufacturer. Avoid improvising a solvent, soaking the base or adding heat because an unrelated tutorial did so. Different shell finishes and constructions are enough reason to keep those instructions specific.
A foot swap does not call for opening the shell unless a separate repair requires it. Pulsar's support guidance discourages disassembly without contacting support and recommends having spare feet before removing the rear PTFE for access. Follow the support process for your own model if the actual problem is inside the mouse.
Install using the instructions for your kit
For Corepad Skatez, the manufacturer's illustrated manual gives this sequence:
- Check shape and size against the original feet.
- Remove the old feet carefully using a flat plastic tool.
- Clear the remaining foam and adhesive, use the specified alcohol wipe and let the contact area dry.
- Position each replacement inside its recess, clear of the raised edge.
- Press the feet into place, then press the mouse onto a firm, flat surface for about 30 seconds.
That sequence is for Corepad's product, not permission to use alcohol on every mouse finish. Its separate product instructions also say to keep fingers off the adhesive. Use your kit's own instructions where they differ.
Before fitting the first piece, identify its orientation while the backing is still attached. If the part only seems to fit when rotated onto a screw opening or shell lip, stop and recheck the chosen kit. Avoid turning a purchasing mistake into an installation mistake.
If something goes wrong during placement, check whether the maker permits repositioning. Do not assume a lifted foot will return to its original shape. ZOWIE describes its Skatez as single-use and calls for replacement when an installation leaves bumps or dents.
Check the result before playing
Return to the same pad and settings you used beforehand. Changing the pad, sensitivity and feet together makes it harder to identify the source of a problem.
Use a short check in this order:
- Inspect the underside for a lifted corner, misplaced part or packaging film that the instructions say to remove.
- Move slowly forwards, backwards and sideways. Note any direction that catches.
- Move the cursor across the desktop, then lift and reposition the mouse as you normally would.
- Try ordinary use before judging the feel in a competitive game.
The goal is a stable installation with normal tracking. A different glide speed can take adjustment; physical instability needs attention first.
Break-in or an installation problem?
Corepad says break-in can take several days depending on use and the pad, and that initial rubbing, noise or slower glide may improve. That does not establish a universal waiting period for all skates.
Our practical dividing line is whether there is a visible or repeatable fault. A corner lifting, a mouse rocking on its feet, or a cursor that fails immediately after the swap is a reason to stop and inspect. Do not use extra downward pressure or abrasive treatment to force the feet to settle.
Record what changed and contact the skate maker if the cause is unclear. Include the mouse's exact name, the replacement kit, the pad type and an underside photo. Those details are more useful than simply reporting that the feet feel bad.
What if tracking changes?
Check physical fit first. If the installation matches the instructions, consult your mouse manufacturer's surface calibration guidance. Razer explains surface calibration and lift-off adjustment, while noting that settings differ between devices.
Do not copy another player's lift-off setting as a repair. A software adjustment should follow the maker's instructions for your model, after you have ruled out a misplaced or incompatible part. If the fault persists, seek support rather than buying a second, differently sized kit at random.
When not to buy a new mouse
Keep the mouse if its shape, buttons and connection still suit you and replacing damaged feet addresses the complaint. A new sensor specification is not a reason to discard a comfortable mouse with a repairable wear part.
If the problem follows one patch of a worn surface, compare the options in our desk mat guide. If you want a different glide after the installation is correct, use the skate material comparison to choose the trade-off deliberately.
Buy another mouse when you need a different shape or feature set, or when repair is impractical. Our gaming mouse buying guide is the next step for that decision. For a mouse you already like, a confirmed fit and careful installation are the useful upgrade.